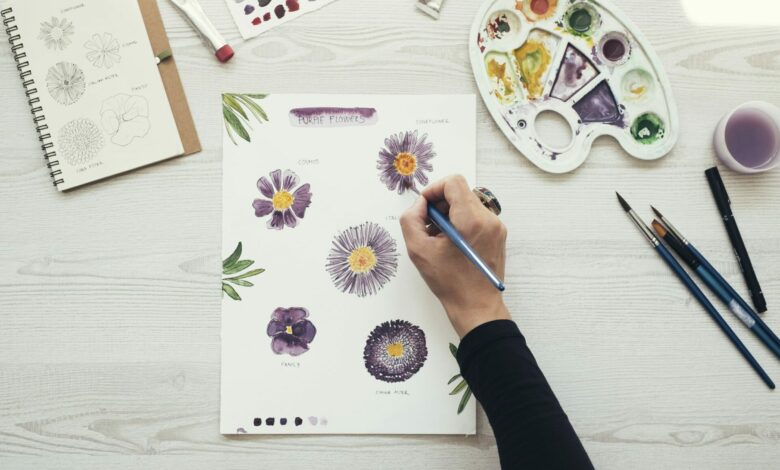
Hola, lovely people! I’m Cathy, an introvert artist hailing from the aesthetic landscapes of Britain. I invite you to join me on a journey into the captivating world of flower drawing. With a love for solitude and a passion for floral artistry, I’ve found solace and joy in the delicate strokes and vibrant hues of floral illustrations. From selling designer flower bookmarks to showcasing my paintings and flower wallpapers on Etsy, my love for drawing flowers has become both a personal passion and a means of sharing my inner world with others, along with generating income.
Now, let’s embark on this artistic adventure together as we uncover the essential steps to mastering the art of flower drawing. With a cup of vegan coffee in hand and a sketchbook at the ready, let’s delve into the mesmerizing beauty of nature’s most exquisite blooms.
Step 1: Gather Your Supplies for Flower Drawing
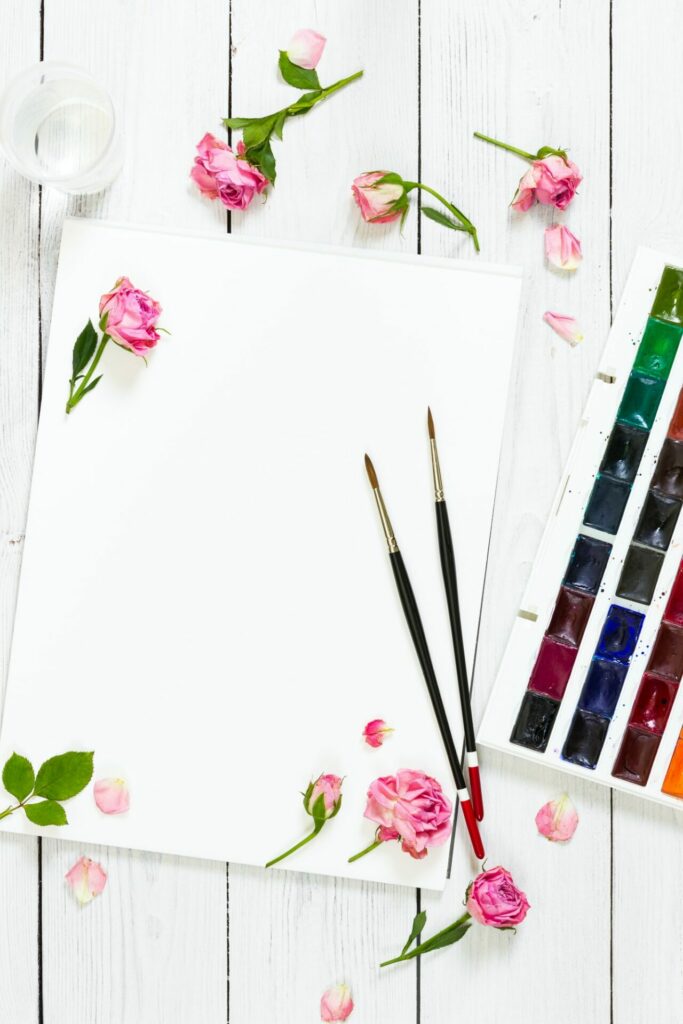
Before we dive into the creative process of flower drawing, let’s make sure we have all the necessary supplies handy. Grab your trusty sketchbook – any size will do – along with a variety of pencils ranging from HB to 6B for different shades. Don’t forget an eraser to fix any mistakes along the way. Oh, and let’s not overlook the importance of reference photos! Choose images of your favorite flowers to guide your drawing journey.
Step 2: Choose Your Bloom
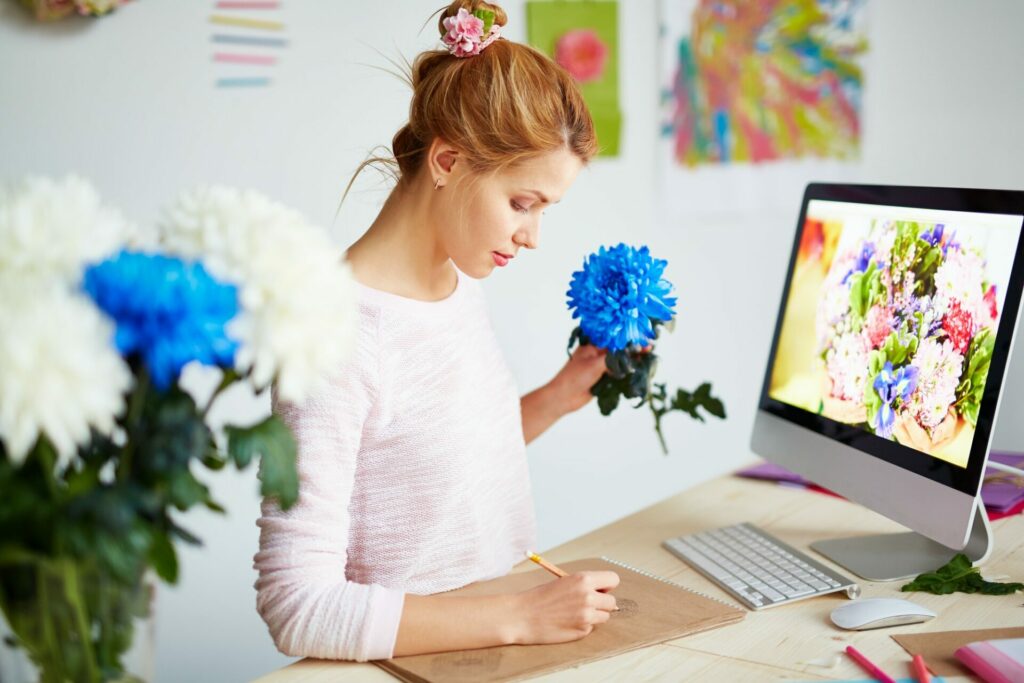
Now comes the exciting part – selecting the star of your masterpiece! Will it be a radiant rose, a vibrant sunflower, or perhaps a delicate daisy? Take your time to study the intricate details of your chosen flower. Notice the shape of the petals, the arrangement of the leaves, and any unique characteristics that make it stand out.
Step 3: Sketching the Outline
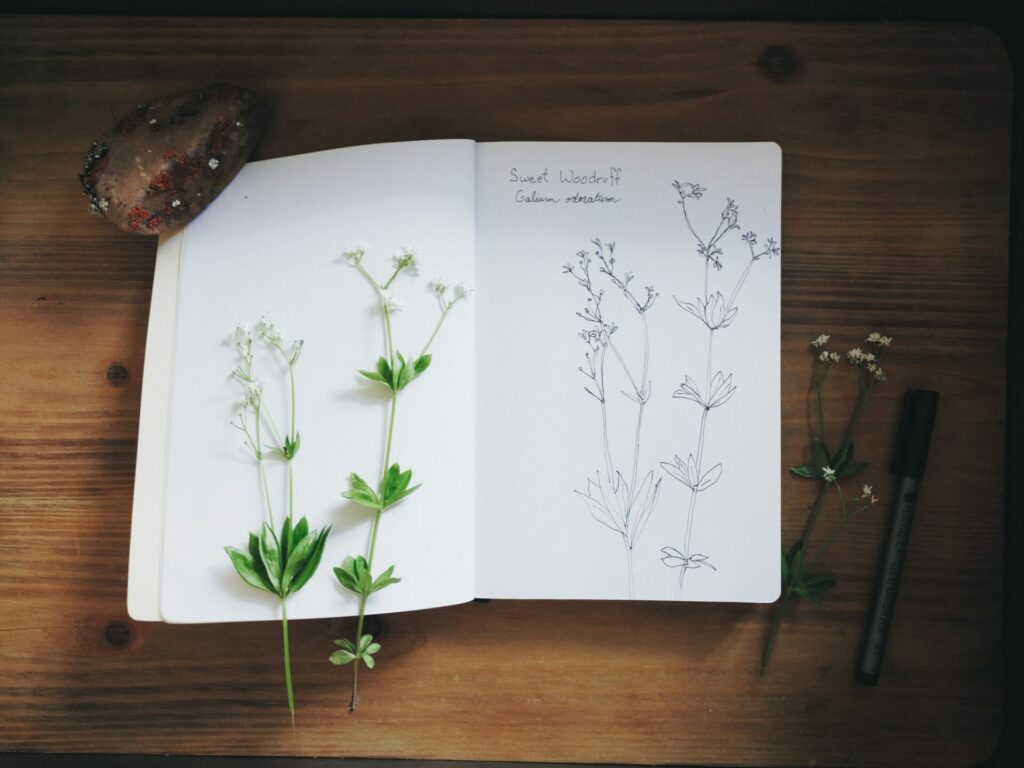
With your reference photo in hand, lightly sketch the basic outline of your flower onto the paper. Start from the center and work your way outward, focusing on capturing the overall shape and proportions. Remember, this initial sketch is just a guideline, so feel free to adjust as needed.
Step 4: Adding Details
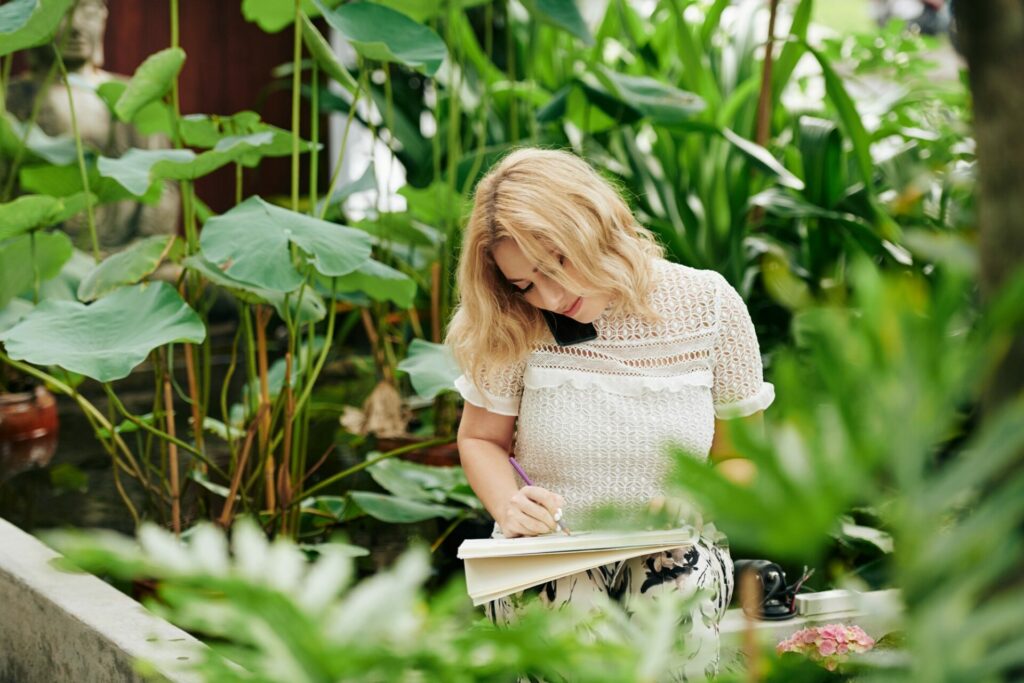
Now it’s time to breathe life into your flower! Pay close attention to the subtle details – the curves of the petals, the folds in the leaves, and the shadows cast by overlapping layers. Use your pencils to gradually build up the shading, starting with lighter strokes and gradually darkening areas that require more depth. Don’t worry about getting it perfect on the first try; we’re all about embracing the creative process here!
Step 5: Bringing Flower Designs to Life
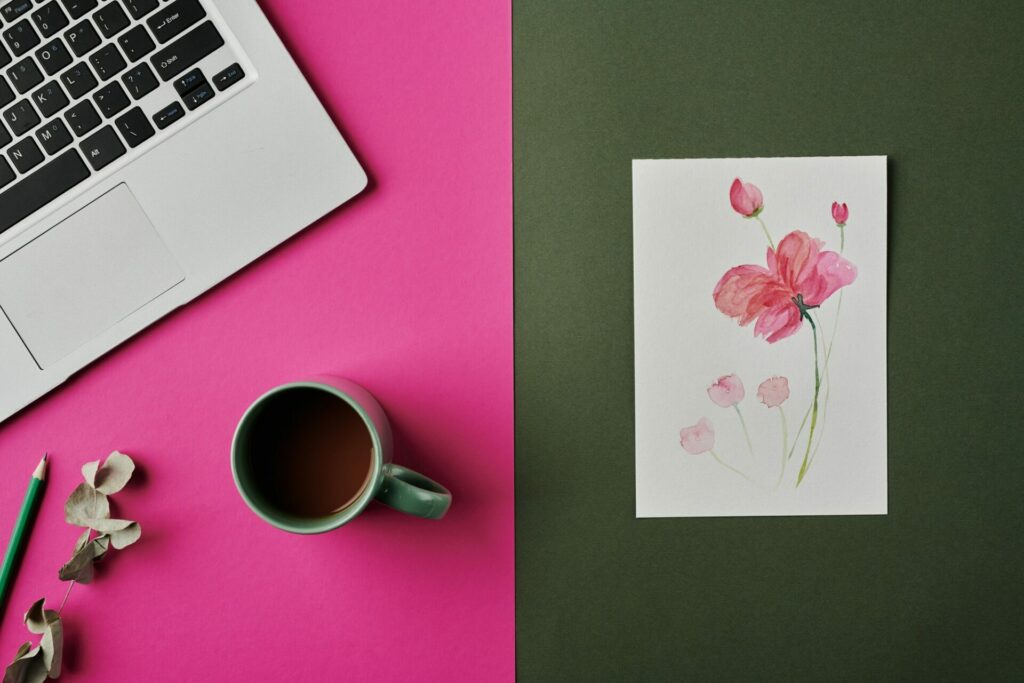
As you continue to refine your drawing, think about how you can make your flower truly pop off the page. Experiment with adding highlights using a white pencil or gently lifting graphite with an eraser to create contrast. Consider the direction of the light source and how it affects the shadows and highlights on your flower. This is where your drawing starts to take on a three-dimensional quality, so have fun with it!
Step 6: Finishing Touches
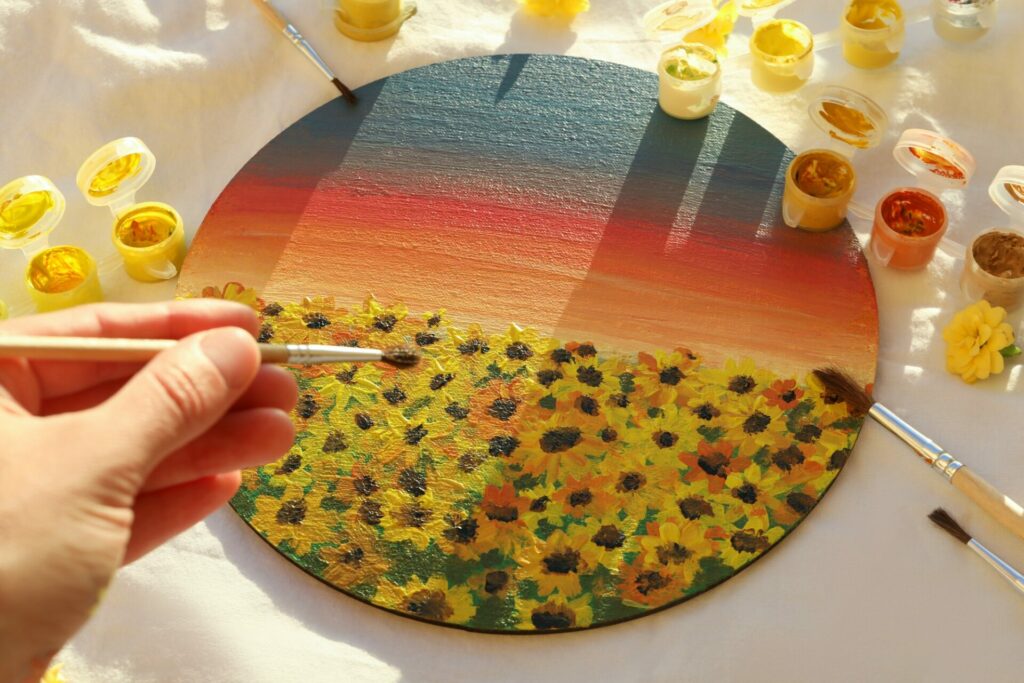
Take a step back and admire your handiwork! If there are any areas that need a little extra attention, now’s the time to make those final tweaks. Use your eraser to clean up any stray lines or smudges, and add any additional details that will enhance the overall composition. Once you’re satisfied with the result, don’t forget to sign your name proudly at the bottom – you’re the talented artist behind this stunning creation!
Step 7: Keep Practicing
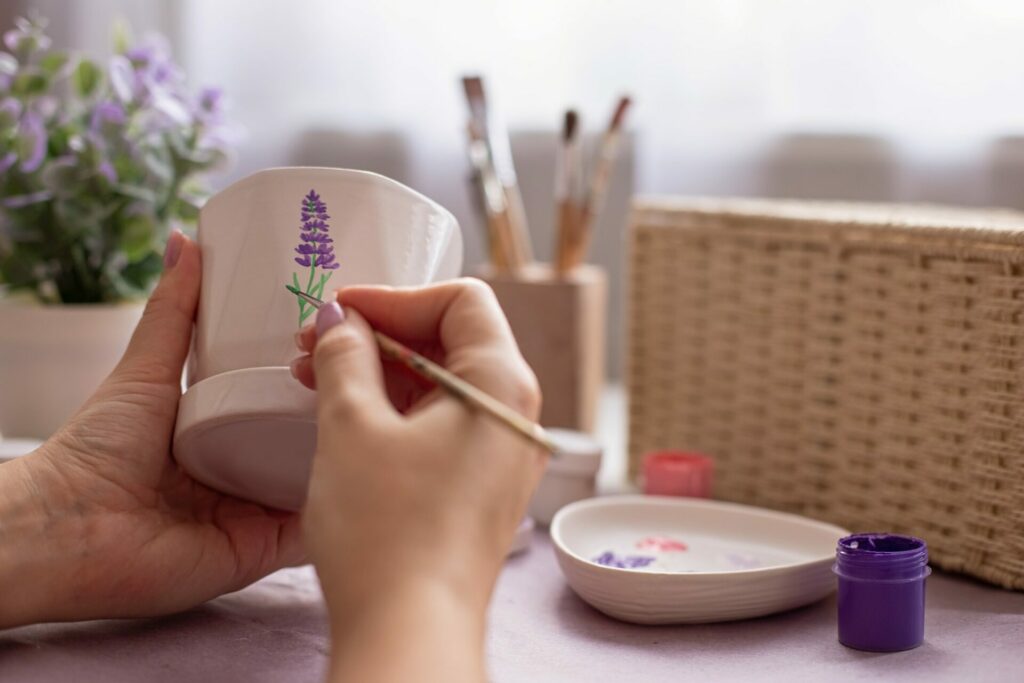
Like any skill worth mastering, drawing takes practice and patience. Don’t be discouraged if your first attempts don’t turn out exactly as planned – every artist’s journey is unique! Keep experimenting, keep learning, and most importantly, keep having fun. The more you practice, the more your confidence and skills will grow, and soon you’ll be creating breathtaking floral illustrations with ease.
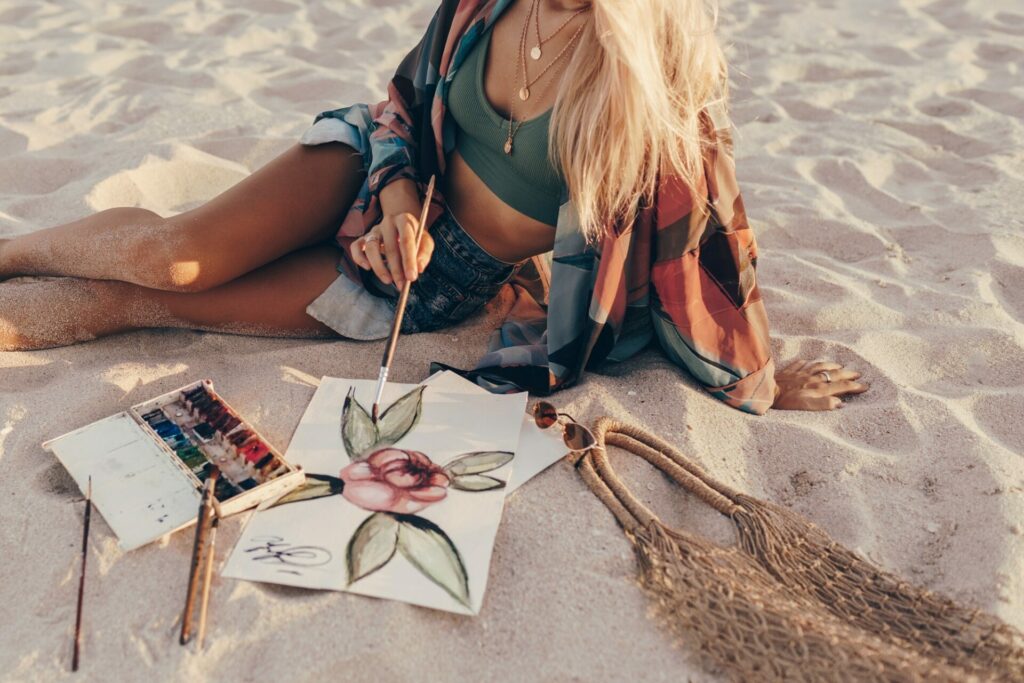
And with that, we’ve navigated through the step-by-step process of bringing forth beautiful flower drawings that illuminate sketchbooks and walls alike with their enchanting allure. Embrace each step with the mindfulness of a seasoned artist, allowing your creativity to blossom with every stroke and shading. Remember, the key lies in relishing the journey, step by step, as you watch your floral creations unfurl and bloom into captivating works of art. Happy drawing, fellow artists, and may your artistic endeavors continue to flourish with each delicate petal and precise line!
